


Ten top tips for taking better sailing photos on your smartphone
Mar 3, 2023 • Written by Chris Jacobs

Did you know you can now add photos to your SailTies voyage logs? Simply tap the add image icon on your completed track to upload or swipe down to the gallery in the crew log section. Your memories can then be shared with everyone aboard and shared as part of your voyage on social media.
Here are our top ten simple tips to take great photos onboard that will make you the envy of all your friends and family:
1.) Hold Steady
Smartphones are incredibly lightweight - that's good news for portability, but it's hard to hold a featherweight phone steady to get that perfect shot - particularly on a moving boat. For that reason take some time to set yourself before you take that photo.
Stand steady, hold your phone with both hands and take advantage of any physical controls like a volume button to take a photo so you can more easily hold your phone.
2.) Use the grid
The cameras the pros use usually have framing grids in the viewfinder window to help them better square up shots. You can turn on the same thing in your phone's camera app. Adding a grid line gives you help in keeping the horizon straight and it's generally a good idea to keep upright structures perfectly vertical in your photos.
The grids also allow you to use what the pros call the "rule of thirds" — a photographic composition principle that says an image should be broken down into thirds, both horizontally and vertically, so you have nine parts in total with points of interest in these intersections or along the lines. This makes your photo more balanced, level, and nicer to look at.
To use grids on iPhone go to "Settings," choose "Photos & Camera," and switch the "Grid" setting on. On Android phones Launch the camera app, go to "Settings," scroll down and switch the "gridlines" option to "on.
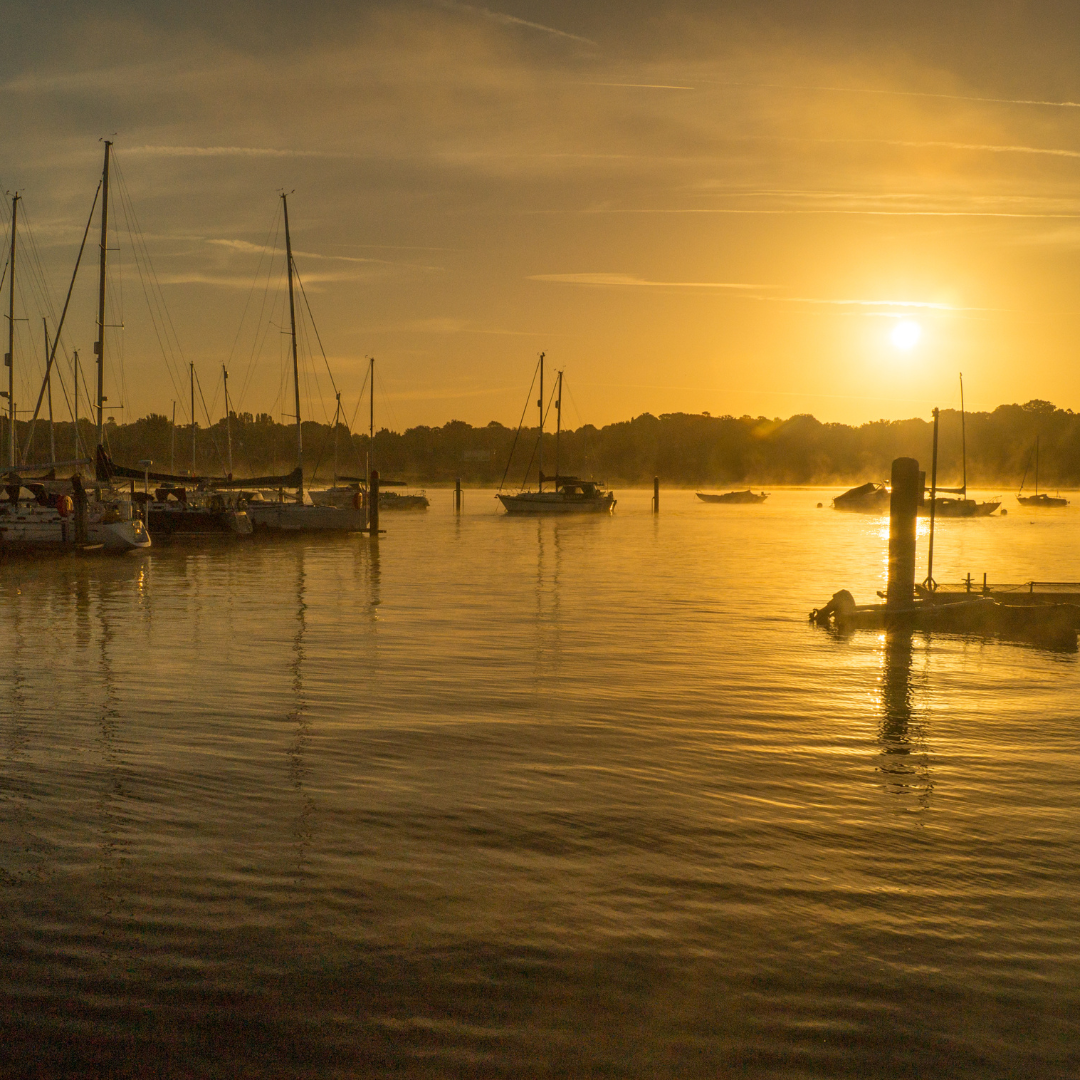
3.) Lights, camera, action
Smartphones have very bright lenses and include special modes for very dim light—the Night modes in the latest iPhones, Galaxies and Pixels do a much better job than old point-and-shoot cameras. Even so, it's a good idea to find some light to illuminate your snapshot.
Whether it be some sunlight from a window for an indoor portrait, or navigation lights for a nighttime snap, it's always smart to find some environmental illumination — smartphone flashes leave a lot to be desired in comparison -we all have *that* photo around the galley table!
4.) It’s all about exposure
The most basic adjustment you can make to your shots to make them look 10x better is exposure—brightening or darkening a scene effectively can turn that bland image of your crew into a head-turner.
Use it to brighten the shot of your galley efforts to make it perfect for Instagram, or to darken shadows in a portrait for a more dramatic look.
On an iPhone you'll want to drag the sun icon, to the right of the focus box, up to brighten an image or down to darken it whilst Android phones typically have the more traditional +/- icon.
5.) Explore your options
Learn what your phone does, and when to use the different features. You'll want to turn on HDR for most phones for day-to-day photography.
Use Night mode for images shot in dim boat interiors or outdoors for those shots on deck after the sun has set.
Portrait mode is a good option on many phones; it blurs the background behind your subject to make them stand out more (Our Marketing specialist Fi swears by turning her phone upside down in portrait mode, getting low and tilting it upwards to take epic shots).
Those are the basics—some phones may have more specialised modes available.
6.) Use HDR mode.
High dynamic range or HDR, helps balance the light and dark elements in a high-contrast photo. It can be used to give your photos a more creative, or artsy vibe, but it is commonly used to produce an image that looks similar to how you see it with your eyes.
Often with smartphone cameras, it’s hard to get the perfect exposure for light and dark areas. You could be taking a photo of someone in below deck, or outside with the light bouncing off the boat and the sea.
Setting the exposure to the background could make the person being photographed washed out. HDR prevents this by retaining both the details in darker areas and shadows and bright areas. The iPhone takes photos in HDR by default. For Android phones, you may need to adjust HDR settings manually.
7.) Focus
Today's phone cameras automatically focus on the foreground of your frame, but not every picture you take on your boat has an obvious subject.
To adjust where you want your camera lens to focus, open your camera app and tap the screen where you want to sharpen the view. If you're taking a photo of dolphins, for example, it can be difficult for your camera to follow this subject and refocus as needed.
Tap the screen to correct your phone camera's focus just before snapping the picture to ensure the subject has as much focus as possible.
A square or circular icon should then appear on your camera screen, shifting the focus of your shot to all of the content inside that icon.
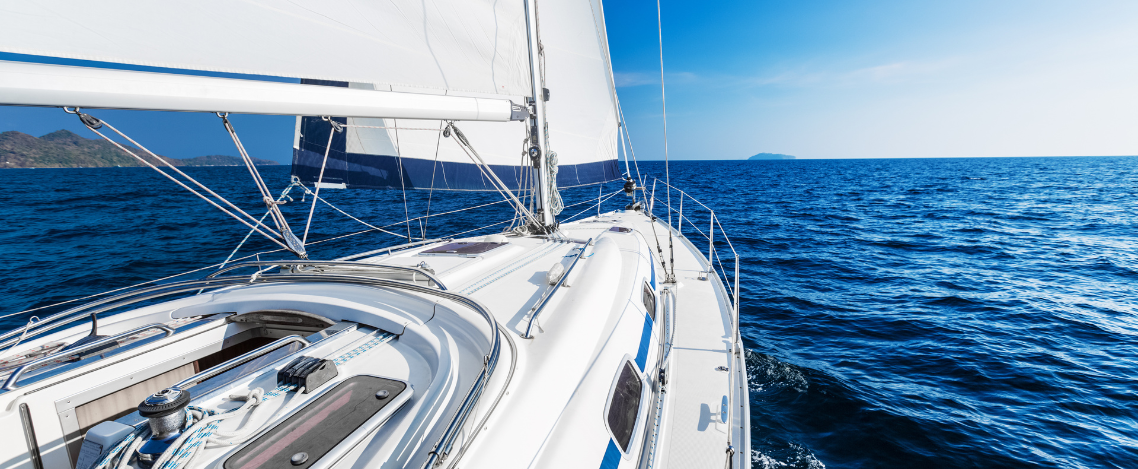
8.) Embrace negative space.
"Negative space" simply refers to the areas around and between the subjects of an image and it can take your photos from "good" to "great." Adding a large expanse of open sky or sea makes your subject stand out more.
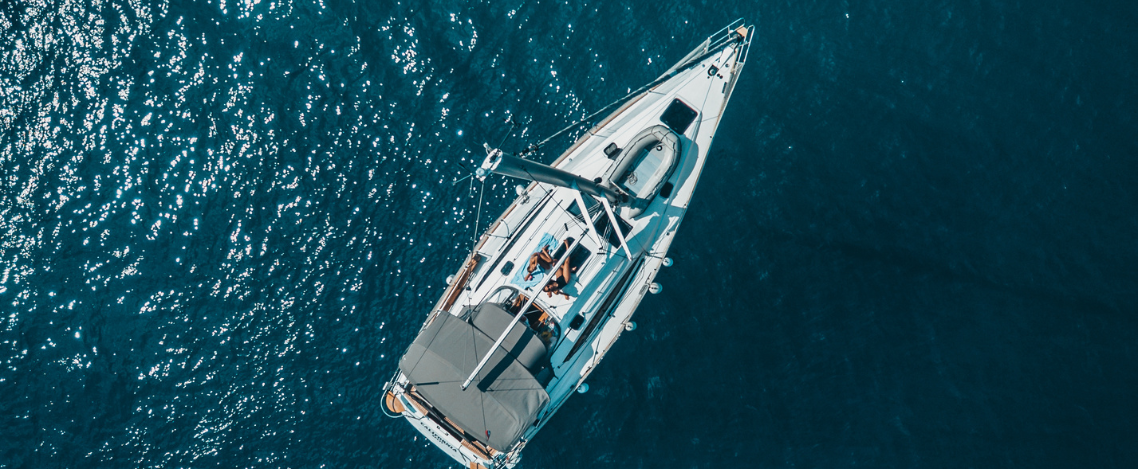
9.) Find different perspectives.
Taking photos from unique, unexpected angles tends to create an illusion of depth or height with the subjects. It also makes the image stand out, since most mobile photos are taken either straight on or from a bird's eye view.
Experiment with snapping a photo directly upward and playing with the sky as negative space or, you can try taking it at a slight downward angle.
10.) Use leading lines.
In some photos, there's a line that draws the viewer's eye toward a certain part of the frame. Those are called leading lines. They can be straight or curvilinear but sailing snappers swear by them.
Leading lines are great for creating a sense of depth in an image, and can make your photo look purposeful even if you just happened to come upon a really cool shape by accident!
Don't forget to show off your new skills. Check out our handy guides for adding images to your SailTies voyage and sharing voyagages with your crewmates